Ever hit play on Netflix and get stuck in endless buffering? Or join a Zoom call just to freeze mid-sentence? Yep—we’ve all been there
Those frustrating Wi-Fi dead zones around your home aren’t just annoying—they slow you down.
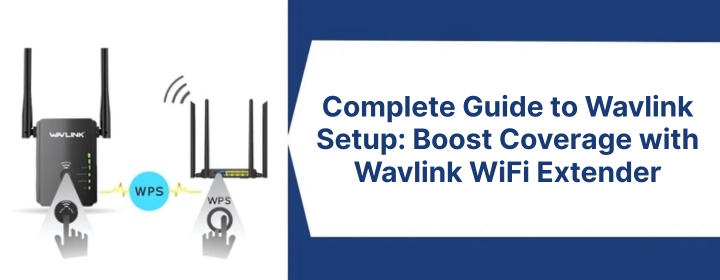
The good news? They’re easy to fix with a Wavlink WiFi extender. No need for an app, no technical know-how, and definitely no calling your “techy” cousin. Just plug it in, open your browser, and go to wifi.wavlink.com.
This guide will walk you through the wifi.wavlink.com login in a few simple steps—no jargon, no stress. Let’s get you connected everywhere you need to be.
What does Wavlink WiFi Extender mean?
Let’s define a WiFi extender before setting it up. WiFi extenders improve and expand your main router’s signal for wider access. It essentially takes the weak Wi-Fi signal, and broadcasts that signal to areas with a poor connection. So whether your bedroom, your backyard, or your garage is sluggish with their internet, an extender will provide it a decent signal boost.
Why Use the wifi.wavlink.com Portal for Setup?
Many people think they need to download apps or follow a complicated process to set up their extender. That’s not true with Wavlink.
wifi.wavlink.com is a local web address (not a regular website) that helps you configure the extender directly. Once you connect to your extender’s network, you simply open a browser, go to this portal, and follow a few on-screen steps. That’s it!
No need to be a tech genius. Just a device with Wavlink extender setup and a browser will do.
Checklist Before You Begin
Before you begin, make sure you have:
- Your Wavlink WiFi extender
- A power outlet nearby
- A phone, tablet, or computer with Wi-Fi
- Your main Wi-Fi network name and password
Wavlink Extender Installation Guide
Step 1: Plug in Your Extender
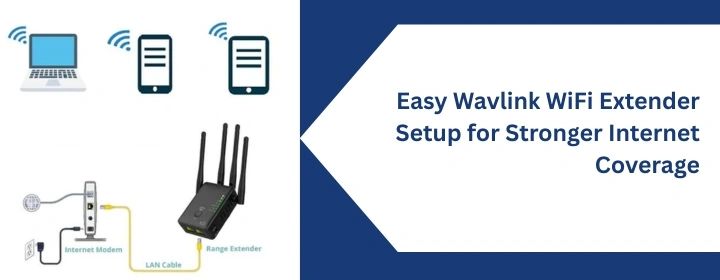
Plug your Wavlink extender into a power outlet – preferably about halfway between your main router and where the weak signal occurs, even better if it’s in a line of sight to the main router Wi-Fi with minimal obstruction. Wait for the LED light to be solid or flashing (this depends on the model).
Step 2: Connect Your Device
On your phone or laptop, go to Wi-Fi settings and find a new network like:
WAVLINK-N or WAVLINK-EXT
Connect to this network. There’s usually no password required at this stage.
Step 3: Open Browser
Once connected, open any web browser (Chrome, Safari, Firefox, etc.).
In the address bar (the place where you would normally type a website’s name) type:
wifi.wavlink.com
192.168.10.1
What you are doing will be invalid if you are not connected to the extender’s Wi-Fi.
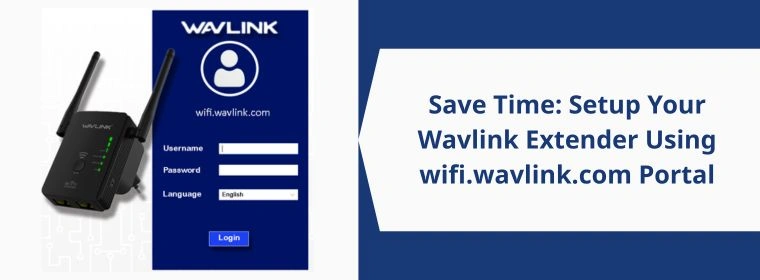
Step 4: Log In
A login page will appear. Enter the default login credentials:
Username: admin
Password: admin
Then, click Login.
(Tip: You can change this later for better security.)
Step 5: Choose Setup Mode
You’ll now be asked to select a setup mode. Choose Repeater Mode or Extender Mode.
The extender will then search for Wi-Fi networks that are available. After a few seconds, it will show neighboring networks.
Step 6: Pick Your Main Wi-Fi
Choose the name of your home or workplace Wi-Fi.
Type your Wi-Fi password (the one you use to connect your phone or laptop to your main router.)
Step 7: Create Extended Network Name
You can now name your extended network. It can be the same as your main one, or slightly different like:
Home_WiFi_EXT
This helps you know when you’re connected to the extender.
Click Apply or Save, and the extender will reboot. Wait 1-2 minutes.
Step 8: Let’s Get You Back Online
After rebooting, go to Wi-Fi settings again.
Yes, your new network name will appear!
Select it, enter your Wi-Fi password, and connect.
Finished! You’re back online!
Troubleshooting
Connected But No Internet?
Double-check the Wi-Fi password you entered during setup.
Re-do the setup if needed.
Try placing the extender closer to the router.
Did you forget your login password?
The reset process is very simple; just press and hold the small reset button on the extender (usually a pin is required) for 10 seconds.
Extender not listed in Wi-Fi?
Move it closer to your main router and plug it in again.
Benefits of Using the Portal
- No app download required
- Compatible with all devices that have a browser
- Simple and easy
- the set up does not take much time
Summary
If you’ve been putting off setting up your Wavlink extender thinking it’ll be complicated—think again. Using the wifi.wavlink.com portal, you can have everything up and running in just a few minutes. No tech skills required, no calls to support needed.