If you want your Wavlink WiFi repeater or extender to work well, you need to set it up correctly. This instruction will show you how to use wifi.wavlink.com login to go to the configuration interface, do the initial setup, and make sure that your Wavlink device is extending your network properly. This guide makes it easy to follow each step, whether you’re trying to improve WiFi coverage or cope with areas with poor signals.
What all is required?
Before you even plug it in, here’s what you need have ready:
- A steady internet connection from your primary WiFi router
- A phone, laptop, or tablet that can connect to WiFi (no ethernet required)
- Your Wavlink repeater or extender
- A power outlet that is near to your router (at least for setup)
- 5 to 10 minutes of time without any distractions
Now, let’s get started.
Step 1: Find a good place to plug it in.
Put the Wavlink repeater into a wall outlet. Best place? In between your router and the dead zone. But to set it up for the first time, connect it into a power socket close to your primary router. You can move it later. Wait for the power light to stay on. It might take time from 30 seconds to a minute.
Step 2: Join the Repeater’s Network
This is the section where most folks stop.
- Access WiFi settings on your phone or laptop.
- Locate a network named WAVLINK-N, WAVLINK-AC, or WAVLINK_EXT.
- Link to it. You don’t need a password to set it up.
- You are now momentarily linked to the signal that the repeater has built in.
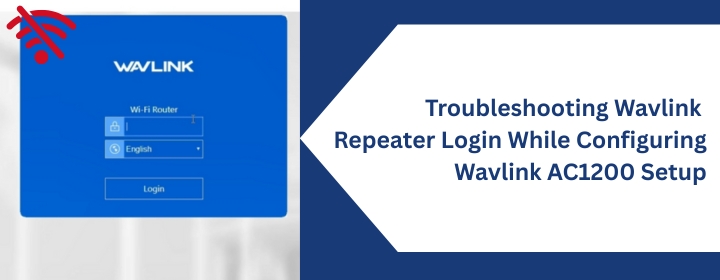
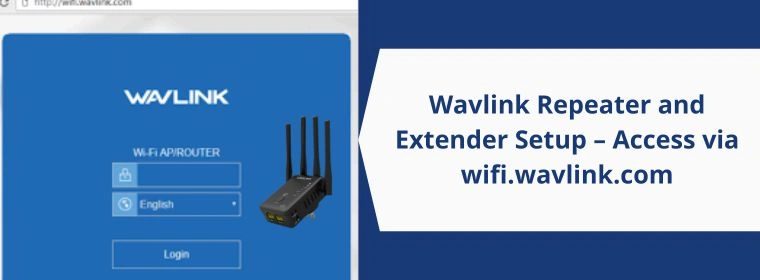
Step 3: Go to Wavlink Repeater login Page
- Perform Wavlink repeater login into the address bar.
- Now it’s time to put things up for real.
- It doesn’t matter which web browser you use (Chrome, Edge, Safari, Nor Google, nor a search box. Right into the browser’s bar.)
Step 4: Log into Wavlink Repeater’s Dashboard.
It will ask for a password as soon as the site loads.
Usually default: Username: admin; Password: admin
You can keep the username blank and password “admin” if you wish.
Now you will get to the setup dashboard. It’s not much. But everything you need is in there.
Step 5: Put It in Repeater Mode
When you’re inside:
- Click on “Repeater” mode (also known as “Range Extender”)
- The repeater will look for WiFi networks that are close by.
- It will display you a list of WiFi signals.
- Pick the WiFi network you use most often at home
- When it asks for your WiFi password, type it in.
- Keep the same name as your primary WiFi so you may wander without problems.
- Put “_EXT” or “_PLUS” at the end of the name so you can tell them apart.
- Press Finish or Apply. After that, wait.
- The repeater will start again. It takes one to two minutes. Maybe even more. Be patient.
Then it could ask you what you want to call the new network. You can:
OR
Step 6: Join the extended WiFi again.
Return to your phone or laptop’s WiFi settings after restarting.
The network name you picked during setup will now appear.
- Link to it.
- Use the same WiFi password you typed in before.
That’s it. The Internet should now work in those dead locations.
If you can’t go into wifi.wavlink.com, try this:
It occurs.
Try this:
- Make sure you are really linked to the repeater’s network. Not your primary Wi-Fi.
- It is recommended that you try entering 192.168.10.1 rather than wifi.wavlink.com.
- Please either clear the cache in your browser or switch to a different browser.
- Try again after restarting the repeater
Nothing yet? There is a little hole on the back of the repeater that you may use to reset it. For around 10 seconds, keep a pin inside. Give it a chance to restart. Try to set it up again.
Putting It in the Last Place
After setting it up, unplug the repeater and move it to a different location, closer to where your WiFi begins to loose network
But not too far away from your router. Make sure it stays in range so it can still pick up the primary signal.
Put it in there. Allow it to start up. In one to two minutes, the lights should stay on.
You’re okay if the signal light (usually a second LED) remains blue or green. Move the repeater closer to the router if it becomes red or continues flashing.
Helpful Quick Tips
- Don’t put it too far away from the router. It won’t extend the signal well if it can’t capture the original one.
- If you can, stay away from strong walls or metal barriers.
- You may change settings at any moment once it’s set up by going to wifi.wavlink.com.
- You can also switch modes and utilize it as a router or access point if you need to.
When Things Don’t Go Well
If you’ve done everything above and the internet is still not steady, it might be:
- Your primary WiFi isn’t steady (look into problems with your router or ISP)
- Too many devices connected to the same channel (go to settings and change the channel)
- Other routers nearby causing problems (common in flats)
- The repeater is too near or too far away
Put it back to its original state. Give it another shot. Sometimes it works better to try to set it up again.
For advanced users: log in after setup
You may always go back to the Wavlink dashboard.
Simply connect to the extender WiFi and browse to wifi.wavlink.com.
Unless you’ve modified it, use admin/admin to log in.
There will be additional choices:
- Control the channel
- Meters for signal strength
- Limits on bandwidth
- Updates to the firmware
But unless you know what you’re doing, it’s better to leave them alone.
Wrap Up
It’s not hard to set up a Wavlink repeater or extension. But it doesn’t work right away as many think it would. You need to log in to wifi.wavlink.com, go through the setup, input the password correctly, and choose a good location to put the device.
That’s all. After it’s done, it runs silently in the background. You don’t think about it again. That’s the point.
No more disconnects in the bedroom. No more standing in the corridor to obtain a signal. Just stable WiFi where it should be.